1. 腐蚀操作
import cv2 # OpenCV 读取的格式是 BGR
import matplotlib.pyplot as plt
import numpy as np
%matplotlib inline
img = cv2.imread('jswyn.jpg')
# cv2.imshow('img', img)
# cv2.waitKey(0)
# cv2.destroyAllWindows()
plt.imshow(cv2.cvtColor(img, cv2.COLOR_BGR2RGB))<matplotlib.image.AxesImage at 0x2917d142438>
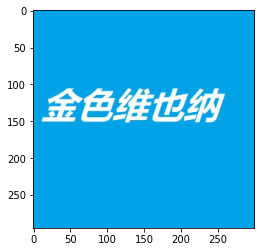
kernel = np.ones((3, 3), np.uint8)
erosion = cv2.erode(img, kernel, iterations=2)
# cv2.imshow('erosion', erosion)
# cv2.waitKey(0)
# cv2.destroyAllWindows()
plt.imshow(cv2.cvtColor(erosion, cv2.COLOR_BGR2RGB))<matplotlib.image.AxesImage at 0x2917e451dd8>
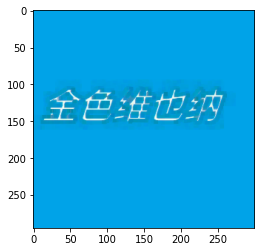
yuan = cv2.imread('yuan.jpg')
# cv2.imshow('yuan', yuan)
# cv2.waitKey(0)
# cv2.destroyAllWindows()
plt.imshow(cv2.cvtColor(yuan, cv2.COLOR_BGR2RGB))<matplotlib.image.AxesImage at 0x2917df154a8>
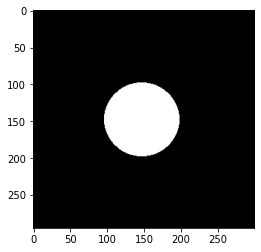
kernel = np.ones((3, 3), np.uint8)
erosion_1 = cv2.erode(yuan, kernel, iterations=1)
plt.imshow(cv2.cvtColor(erosion_1, cv2.COLOR_BGR2RGB))<matplotlib.image.AxesImage at 0x2917e749828>
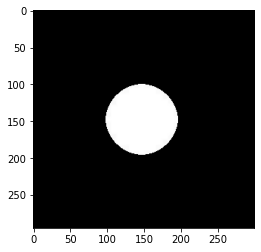
erosion_2 = cv2.erode(yuan, kernel, iterations=2)
plt.imshow(cv2.cvtColor(erosion_2, cv2.COLOR_BGR2RGB))<matplotlib.image.AxesImage at 0x2917e791048>
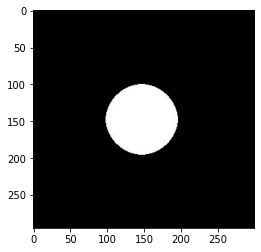
erosion_3 = cv2.erode(yuan, kernel, iterations=3)
plt.imshow(cv2.cvtColor(erosion_3, cv2.COLOR_BGR2RGB))<matplotlib.image.AxesImage at 0x2917e7caa58>
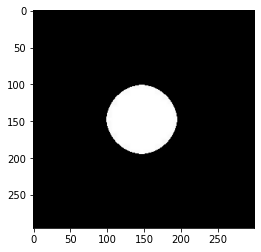
2. 膨胀操作
img = cv2.imread('jswyn.jpg')

# cv2.imshow('img', img)
# cv2.waitKey(0)
# cv2.destroyAllWindows()
plt.imshow(cv2.cvtColor(img, cv2.COLOR_BGR2RGB))
<matplotlib.image.AxesImage at 0x2917e80f358>
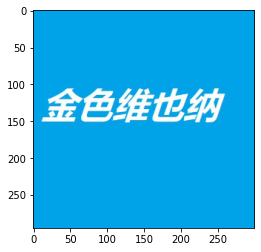
kernel = np.ones((3, 3), np.uint8)
erosion = cv2.dilate(img, kernel, iterations=2)
# cv2.imshow('erosion', erosion)
# cv2.waitKey(0)
# cv2.destroyAllWindows()
plt.imshow(cv2.cvtColor(erosion, cv2.COLOR_BGR2RGB))<matplotlib.image.AxesImage at 0x2917fd32048>
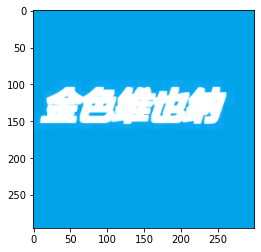
yuan = cv2.imread('yuan.jpg')

# cv2.imshow('yuan', yuan)
# cv2.waitKey(0)
# cv2.destroyAllWindows()
plt.imshow(cv2.cvtColor(yuan, cv2.COLOR_BGR2RGB))
<matplotlib.image.AxesImage at 0x2917fd747b8>
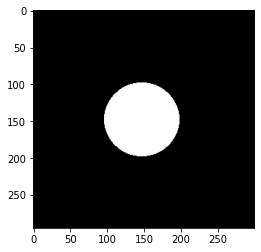
kernel = np.ones((6, 6), np.uint8)

erosion_1 = cv2.dilate(yuan, kernel, iterations=1)
plt.imshow(cv2.cvtColor(erosion_1, cv2.COLOR_BGR2RGB))
<matplotlib.image.AxesImage at 0x2917fdcc438>
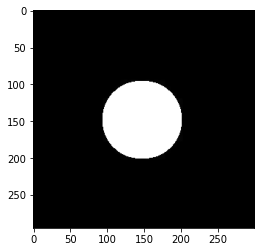
erosion_2 = cv2.dilate(yuan, kernel, iterations=2)
plt.imshow(cv2.cvtColor(erosion_2, cv2.COLOR_BGR2RGB))
<matplotlib.image.AxesImage at 0x2917fecd6a0>
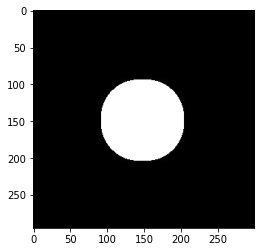
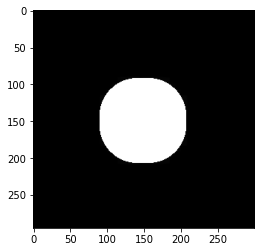
erosion_3 = cv2.dilate(yuan, kernel, iterations=3)
plt.imshow(cv2.cvtColor(erosion_3, cv2.COLOR_BGR2RGB))
<matplotlib.image.AxesImage at 0x2917ff28320>
3. 开运算与闭运算
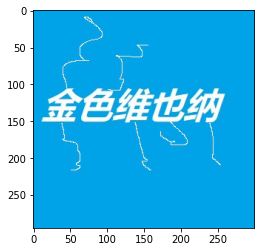
jswyn1 = cv2.imread('jswyn1.jpg')

# cv2.imshow('jswyn1', jswyn1)
# cv2.waitKey(0)
# cv2.destroyAllWindows()
plt.imshow(cv2.cvtColor(jswyn1, cv2.COLOR_BGR2RGB))
<matplotlib.image.AxesImage at 0x2917df080b8>
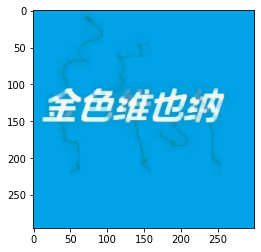
# 开运算:先腐蚀,再膨胀
kernel = np.ones((5, 5), np.uint8)
open = cv2.morphologyEx(jswyn1, cv2.MORPH_OPEN, kernel)

# cv2.imshow('open', open)
# cv2.waitKey(0)
# cv2.destroyAllWindows()
plt.imshow(cv2.cvtColor(open, cv2.COLOR_BGR2RGB))
<matplotlib.image.AxesImage at 0x291410e8e48>
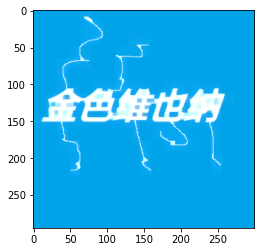
# 闭运算:先膨胀,再腐蚀
kernel = np.ones((5, 5), np.uint8)
close = cv2.morphologyEx(jswyn1, cv2.MORPH_CLOSE, kernel)

# cv2.imshow('close', close)
# cv2.waitKey(0)
# cv2.destroyAllWindows()
plt.imshow(cv2.cvtColor(close, cv2.COLOR_BGR2RGB))
<matplotlib.image.AxesImage at 0x2914114a860>
4.梯度运算
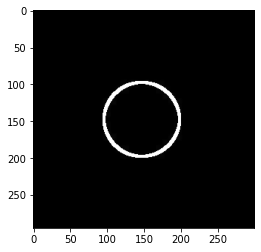
# 梯度运算:膨胀 - 腐蚀
img = cv2.imread('yuan.jpg')
kernel = np.ones((5, 5), np.uint8)
gradient = cv2.morphologyEx(img, cv2.MORPH_GRADIENT, kernel)

# cv2.imshow('gradient', gradient)
# cv2.waitKey(0)
# cv2.destroyAllWindows()
plt.imshow(cv2.cvtColor(gradient, cv2.COLOR_BGR2RGB))
<matplotlib.image.AxesImage at 0x291412e8da0>
5.礼帽与黑帽
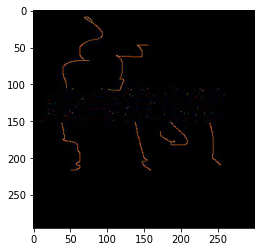
- 礼帽:原始输入 - 开运算结果
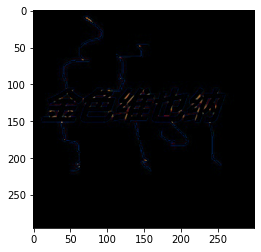
- 黑帽:闭运算结果 - 原始输入
# 礼帽
img = cv2.imread('jswyn1.jpg')
kernel = np.ones((3, 3), np.uint8)
top_hat = cv2.morphologyEx(img, cv2.MORPH_TOPHAT, kernel)

# cv2.imshow('top_hat', top_hat)
# cv2.waitKey(0)
# cv2.destroyAllWindows()
plt.imshow(cv2.cvtColor(top_hat, cv2.COLOR_BGR2RGB))
<matplotlib.image.AxesImage at 0x291415164e0>
# 黑帽
black_hat = cv2.morphologyEx(img, cv2.MORPH_BLACKHAT, kernel)

# cv2.imshow('black_hat', black_hat)
# cv2.waitKey(0)
# cv2.destroyAllWindows()
plt.imshow(cv2.cvtColor(black_hat, cv2.COLOR_BGR2RGB))
<matplotlib.image.AxesImage at 0x2914253fb00>

评论 (0)